Adopting an agent gives you one that's ready to go. Building an agent lets you define exactly how it works, what it does, and the routines it follows. Once it's built, you can share it with the marketplace for others to use.
There are two ways to build an agent.
Option 1: Build conversationally inside RivalBot, where you describe the agent in plain language and Rival drafts it for you.
Option 2: Build manually under the "Build" tab, where Rival outlines each step and you fill it in.
This guide covers the manual route, with reference points for building with RivalBot.
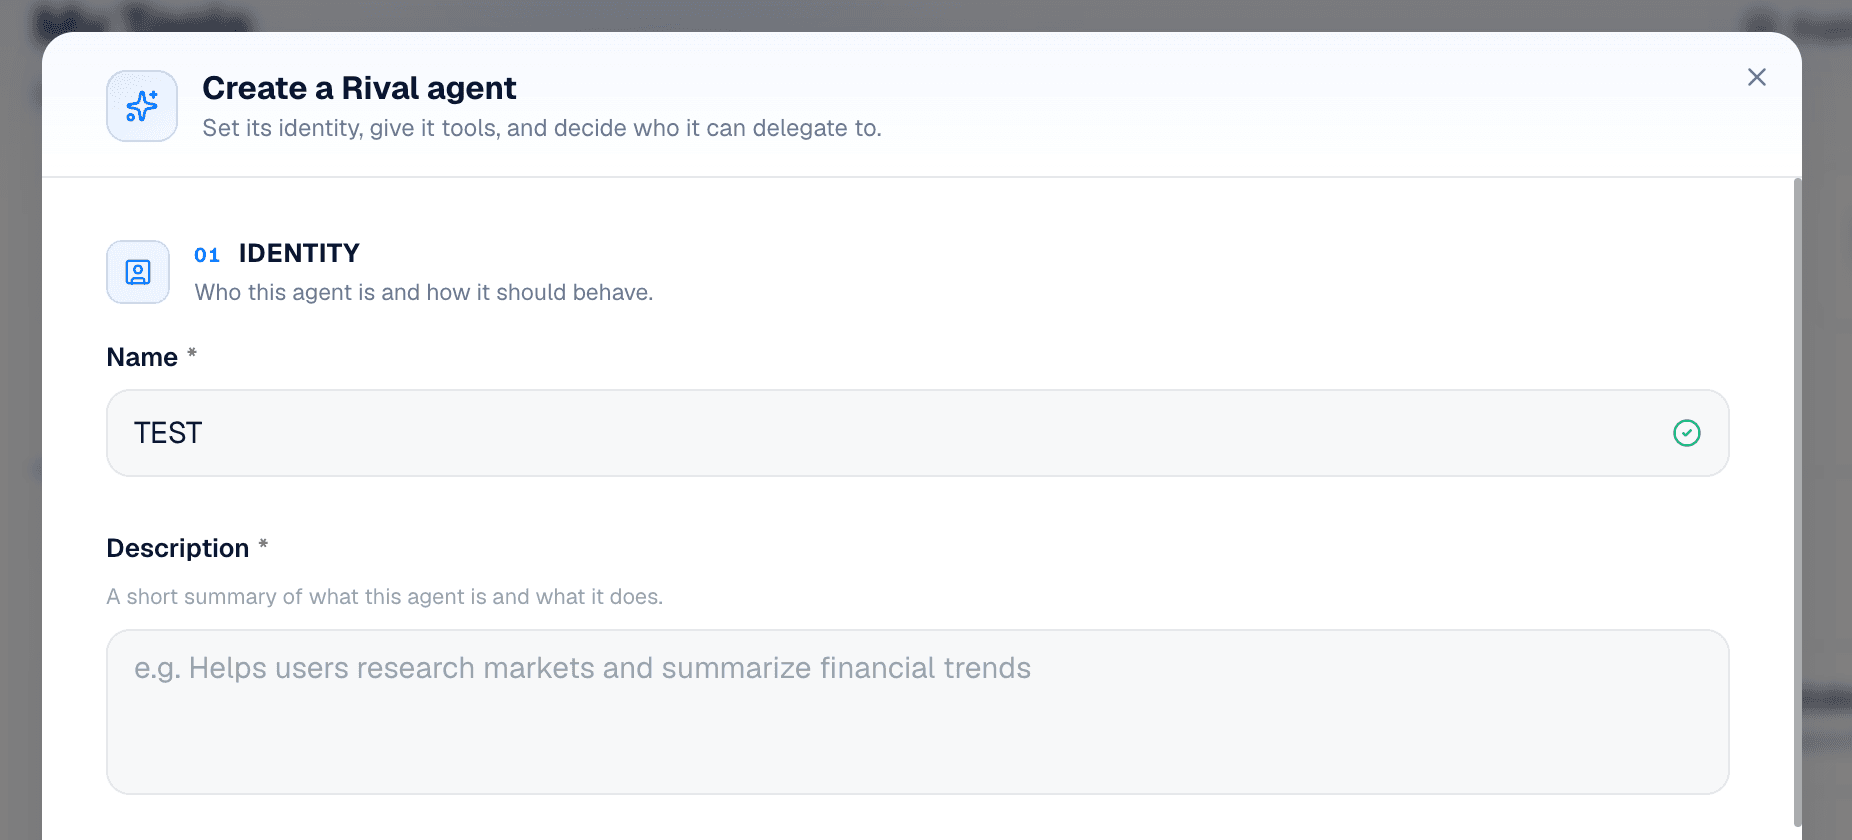
Step 1: Start with the Basics
Start with the Name. It has two jobs: tell people what the agent does and make them want to click. This is a marketplace, so treat the name like a product, not a file label. Clear, with a little personality, usually wins.
Example:
Weak: AI Assistant #4
Better: Executive Meeting Prep
The best names make it obvious what the agent does in just a few words. If someone can understand the value without reading the description, you're on the right track.
Description
An agent description should explain the agent's role, how it helps, and the outcome it delivers. Think of it as introducing a new teammate. Instead of listing features, describe the job the agent is responsible for and why someone would want it.
A strong description focuses on the problem being solved, the information or actions the agent uses to solve it, and the benefit the user receives. The best descriptions are written in plain language, avoid technical jargon, and make it immediately obvious what the agent does and how it creates value. If someone reads the description and can instantly answer "What does this agent do for me?" you've written a good one.
Keep it to 1–3 sentences and write it like you're describing a helpful coworker, not software.
Formula: [Agent Name] helps [user] accomplish [goal] by [how it works].
Example:
Weak: Analyzes compensation data and provides negotiation support.
Better: Salary Negotiator helps professionals understand their market value, prepare for compensation conversations, and negotiate raises, promotions, and job offers with confidence.
Step 2: Write the Instructions
This is the heart of the agent. Spend your time here.
The instructions are the operating manual for your agent. They define how the agent thinks, behaves, communicates, and completes its work. Good instructions go beyond describing what the agent does and explain how it should do it.
A simple way to think about agent design is: Purpose → Instructions → Procedure
Purpose: Start by defining the outcome the agent is responsible for delivering. This should focus on the result, not the tasks.
Weak: Help users negotiate salaries.
Better: Help users maximize their compensation by understanding their market value, preparing for compensation conversations, and negotiating raises, promotions, and job offers with confidence.
The purpose answers one question: What outcome is this agent responsible for delivering?
Instructions
Instructions define how the agent behaves while pursuing its purpose. They should explain:
How the agent introduces itself
What information it gathers first
The methodology it follows
The tone it should use
What actions it should take
What it should avoid
Any important guardrails or limitations
Think of instructions as the rules that govern the agent's decision-making.
Weak: Help users negotiate salaries. Research compensation and answer questions.
Better: Begin by understanding the user's current role, compensation, industry, location, and career goals. Research market compensation data before making recommendations. Focus on helping users build a business case based on measurable impact and accomplishments. Maintain a professional, encouraging, and data-driven tone. Provide realistic compensation expectations and avoid making guarantees about outcomes. Help users prepare for compensation conversations, evaluate job offers, and develop negotiation strategies while avoiding aggressive or misleading tactics.
The instructions answer: How should this agent behave?
Procedure
The procedure is the step-by-step process the agent follows when completing its work.
For our example with Salary Negotiator, a procedure might look like:
Gather information about the user's role, compensation, and goals.
Research market compensation benchmarks.
Identify gaps between current and target compensation.
Assess readiness for negotiation.
Build a negotiation strategy.
Generate talking points and supporting materials.
Prepare the user for the conversation.
Review outcomes and recommend next steps.
The procedure answers: How does the agent complete its job from start to finish?
Formula
A strong agent can usually be designed using this formula:
Purpose: What outcome is the agent responsible for delivering?
Instructions: How should the agent behave while pursuing that outcome?
Procedure: What step-by-step process should it follow to complete its work?
If someone can read these three sections and immediately understand what the agent does, how it operates, and what results it delivers, the agent is ready to build.

Step 3: Choose a Category & Icon
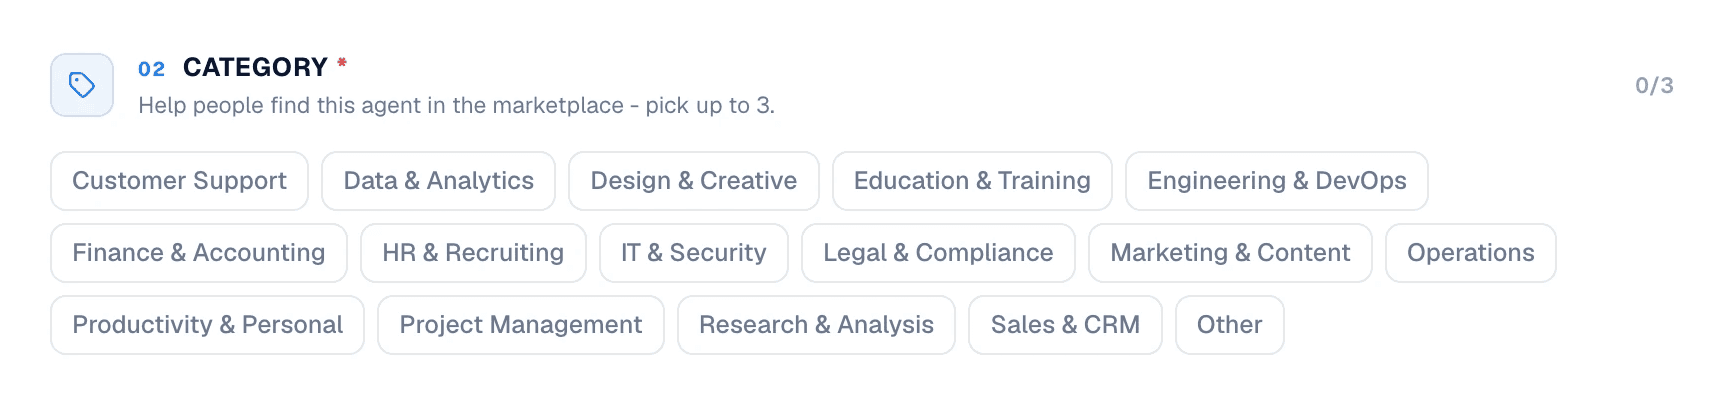
Category
Pick the category your agent fits. The list is set by Rival. This is quick, and it helps buyers find your agent in the marketplace.
Icon
Your icon is what buyers see first in the marketplace. Generate one in the builder, or upload your own. Skip generic AI imagery. Aim for something that signals what your agent does, even at thumbnail size.
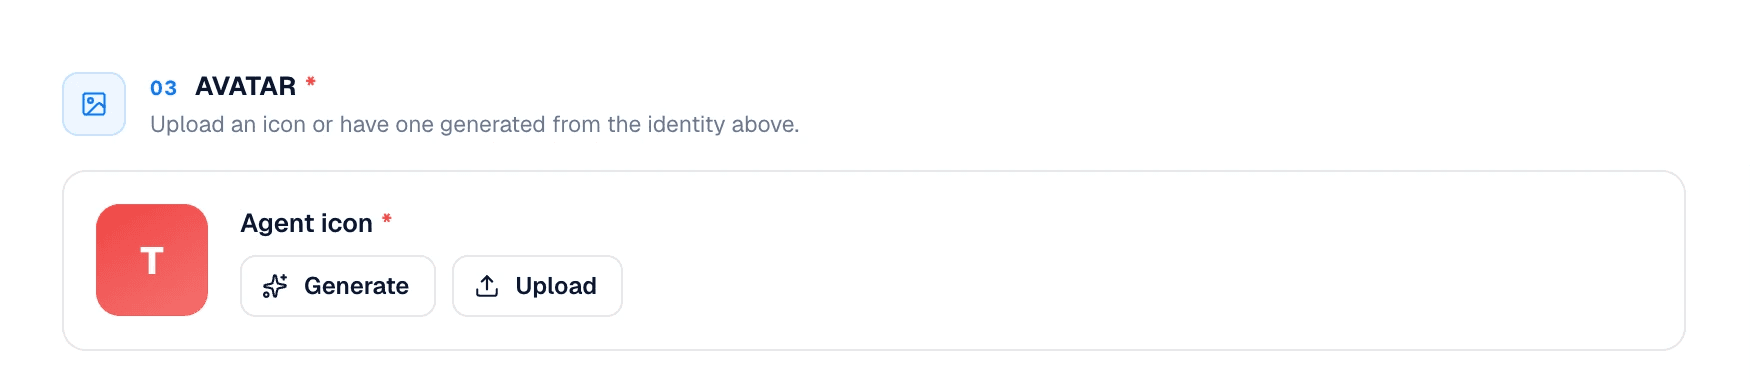
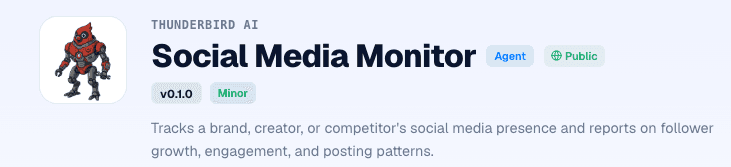
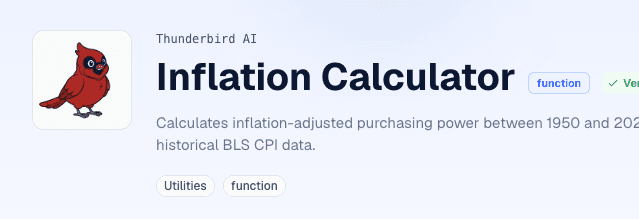
Thunderbird AI does this well: their thumbnails share a visual style across their agents, so a buyer recognizes a Thunderbird agent instantly. If you plan to build more than one agent, you can design your icons as a set.
Step 4: Add Capabilities
Capabilities are what give your agent the ability to do its job. There are two types:
Tools are the individual skills your agent can use, like searching the web, reading documents, sending emails, looking up locations, analyzing data, or generating reports. Think of them as the building blocks that allow your agent to take action. Add only the tools your agent actually needs. Every tool adds complexity and cost, so the best agents are usually the most focused.
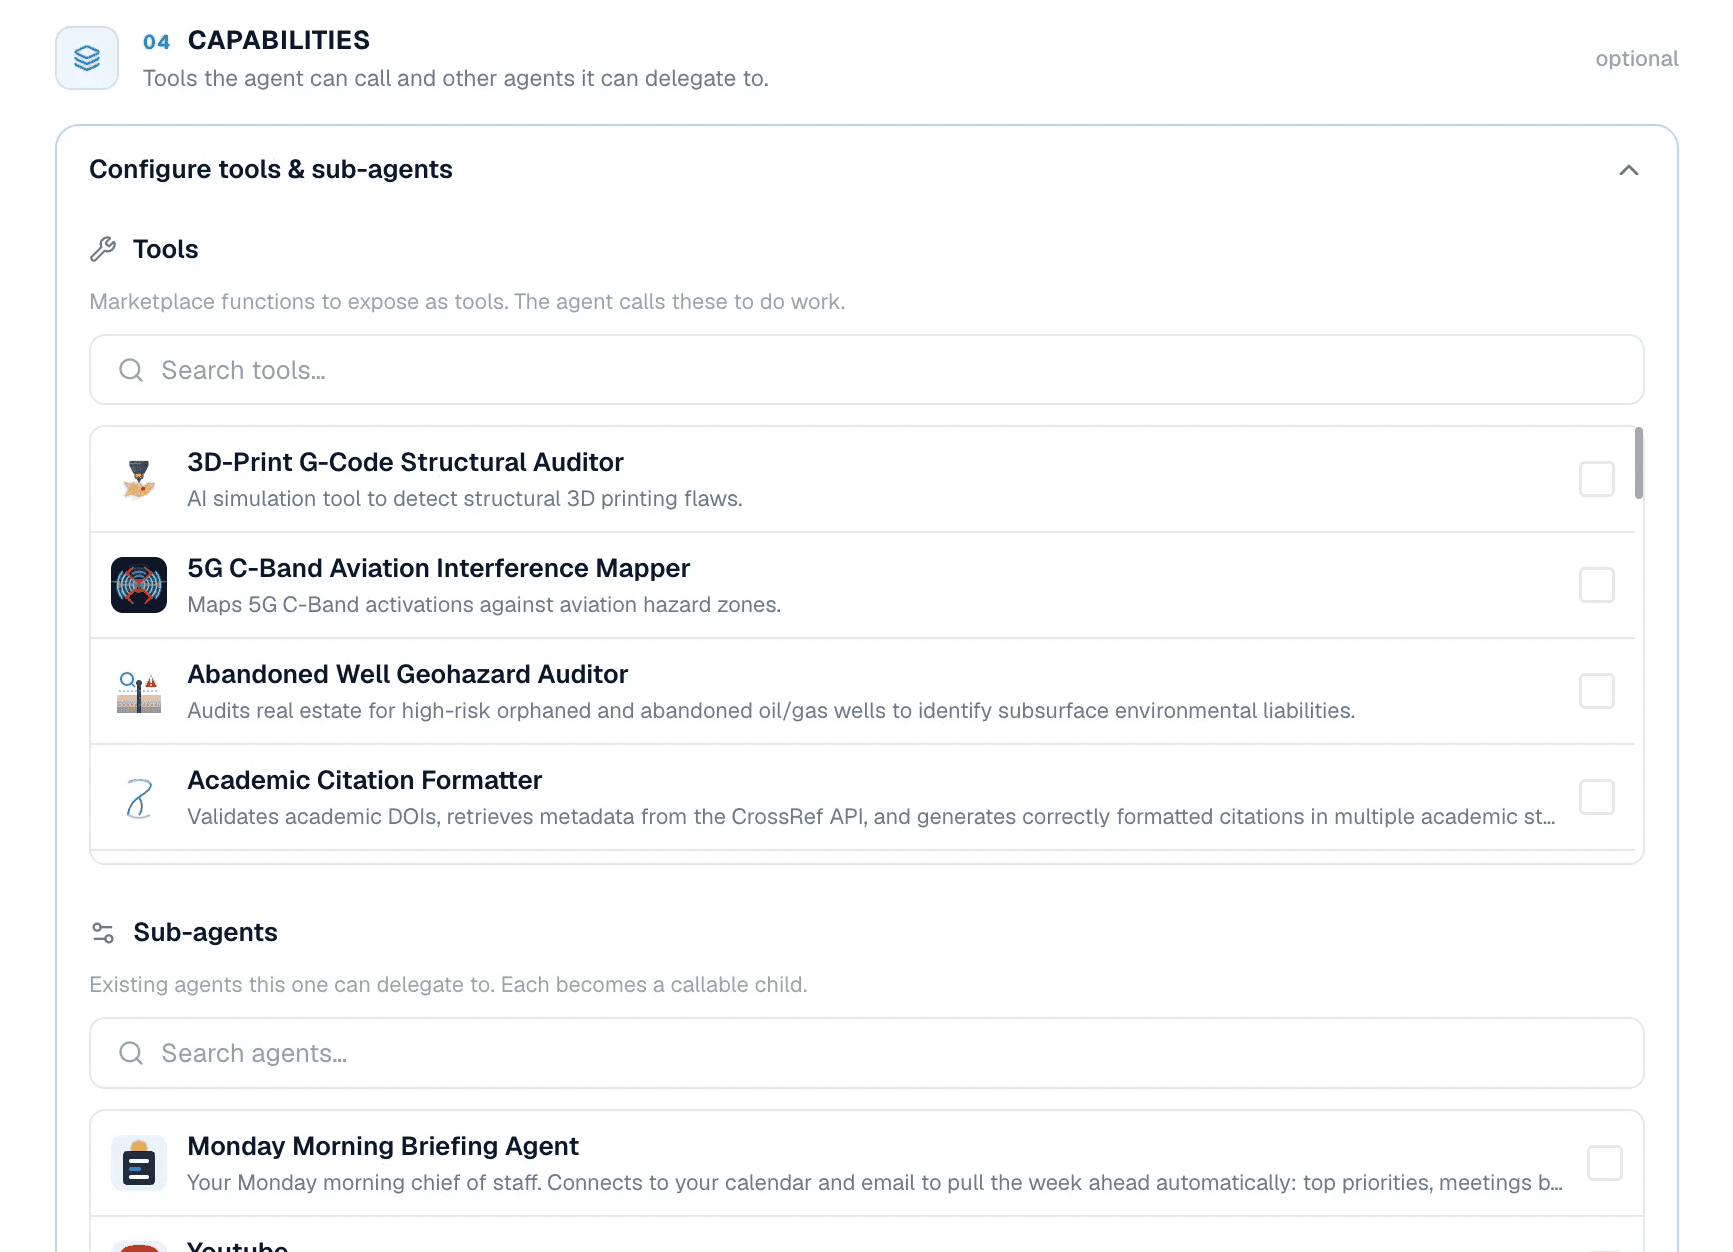
Sub-agents are specialized agents that your main agent can delegate work to. Think of them as teammates with expertise in a specific area. For example, an Executive Meeting Prep agent might hand company research to a Research Analyst agent or follow-up tasks to a CRM Assistant. Most agents don't need sub-agents to start. Add them when the work becomes complex enough that a team of specialists would perform better than a single agent.
If you're unsure which tools or sub-agents to use, or you can’t find a match, you can add them during testing and ask RivalBot to find the best match of tools or sub-agents for your agent.
Step 5: Click Create Agent
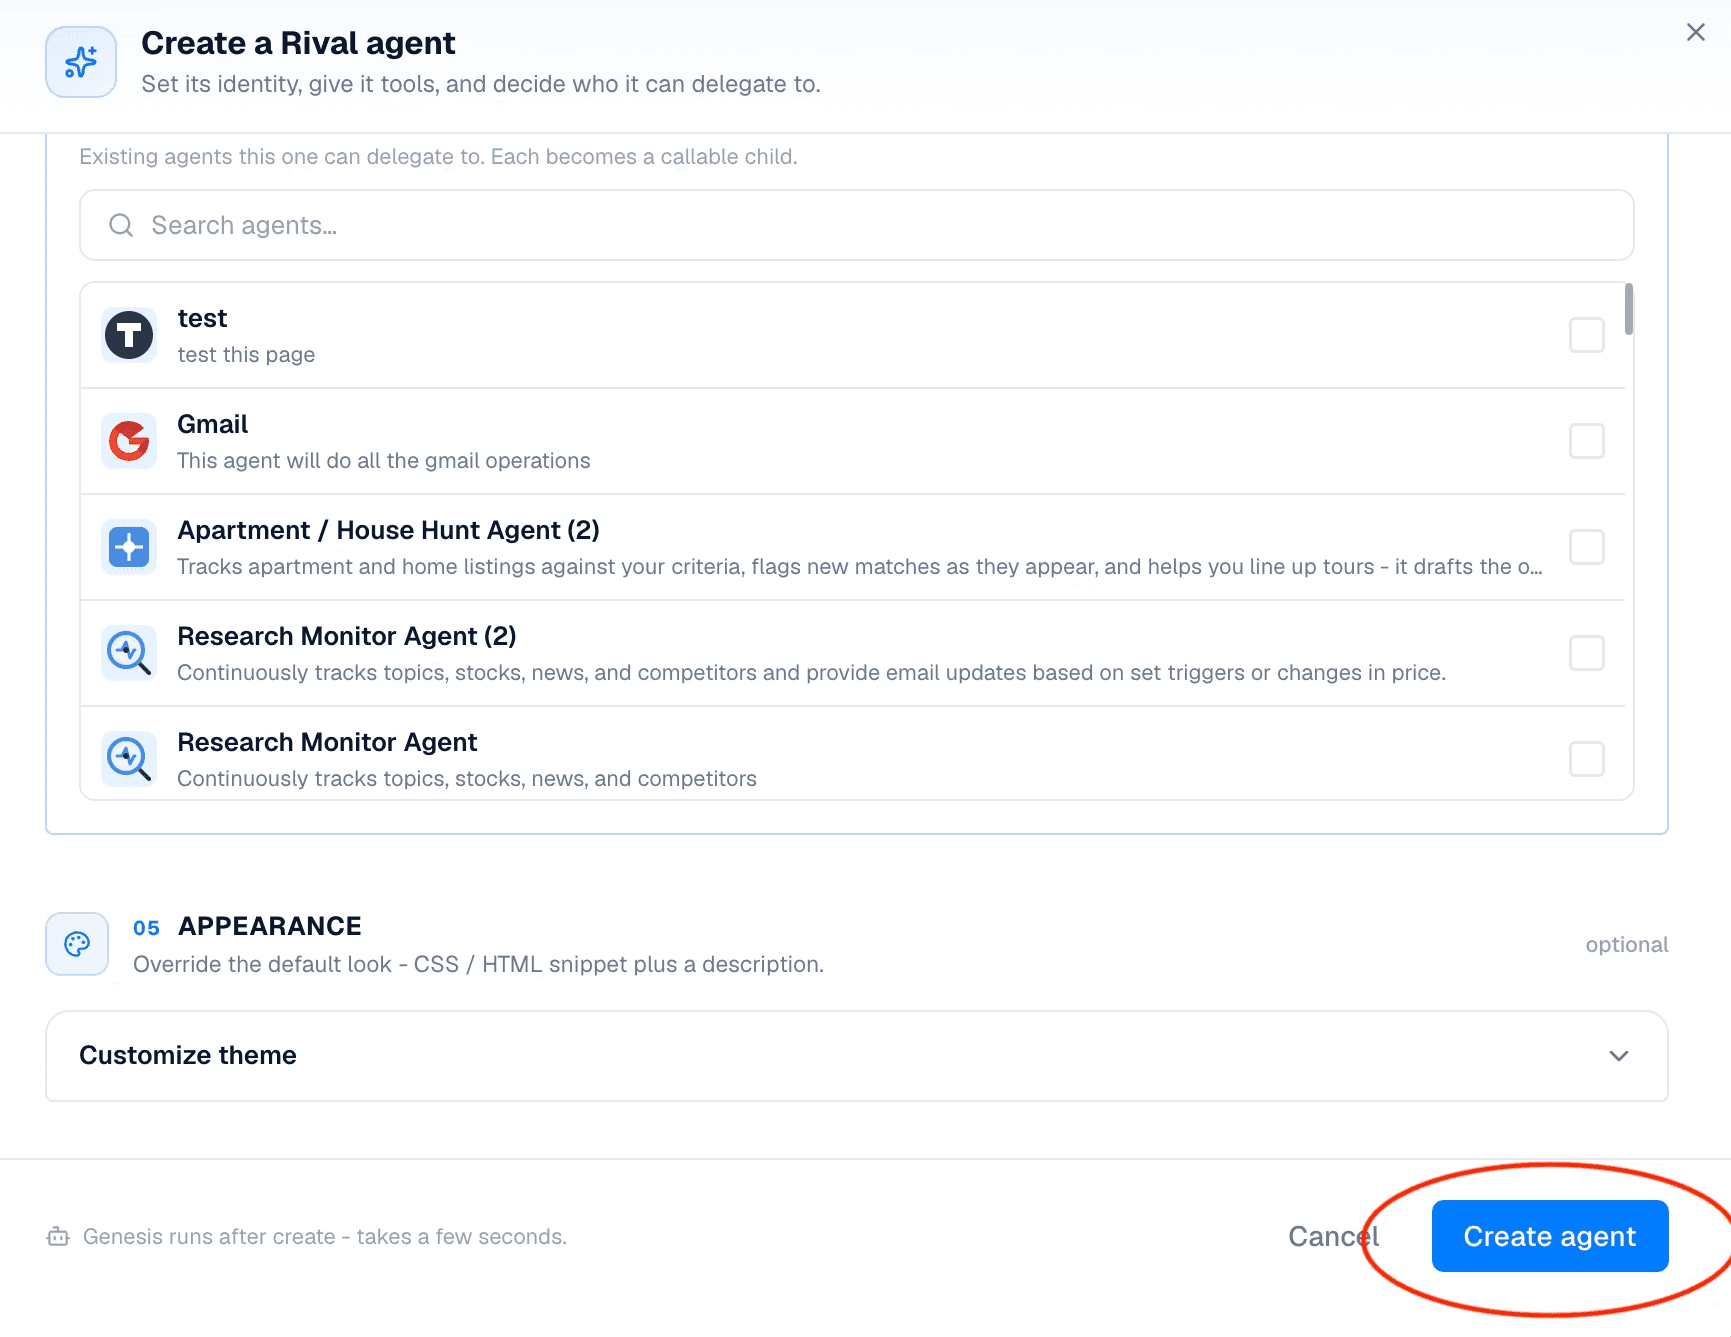
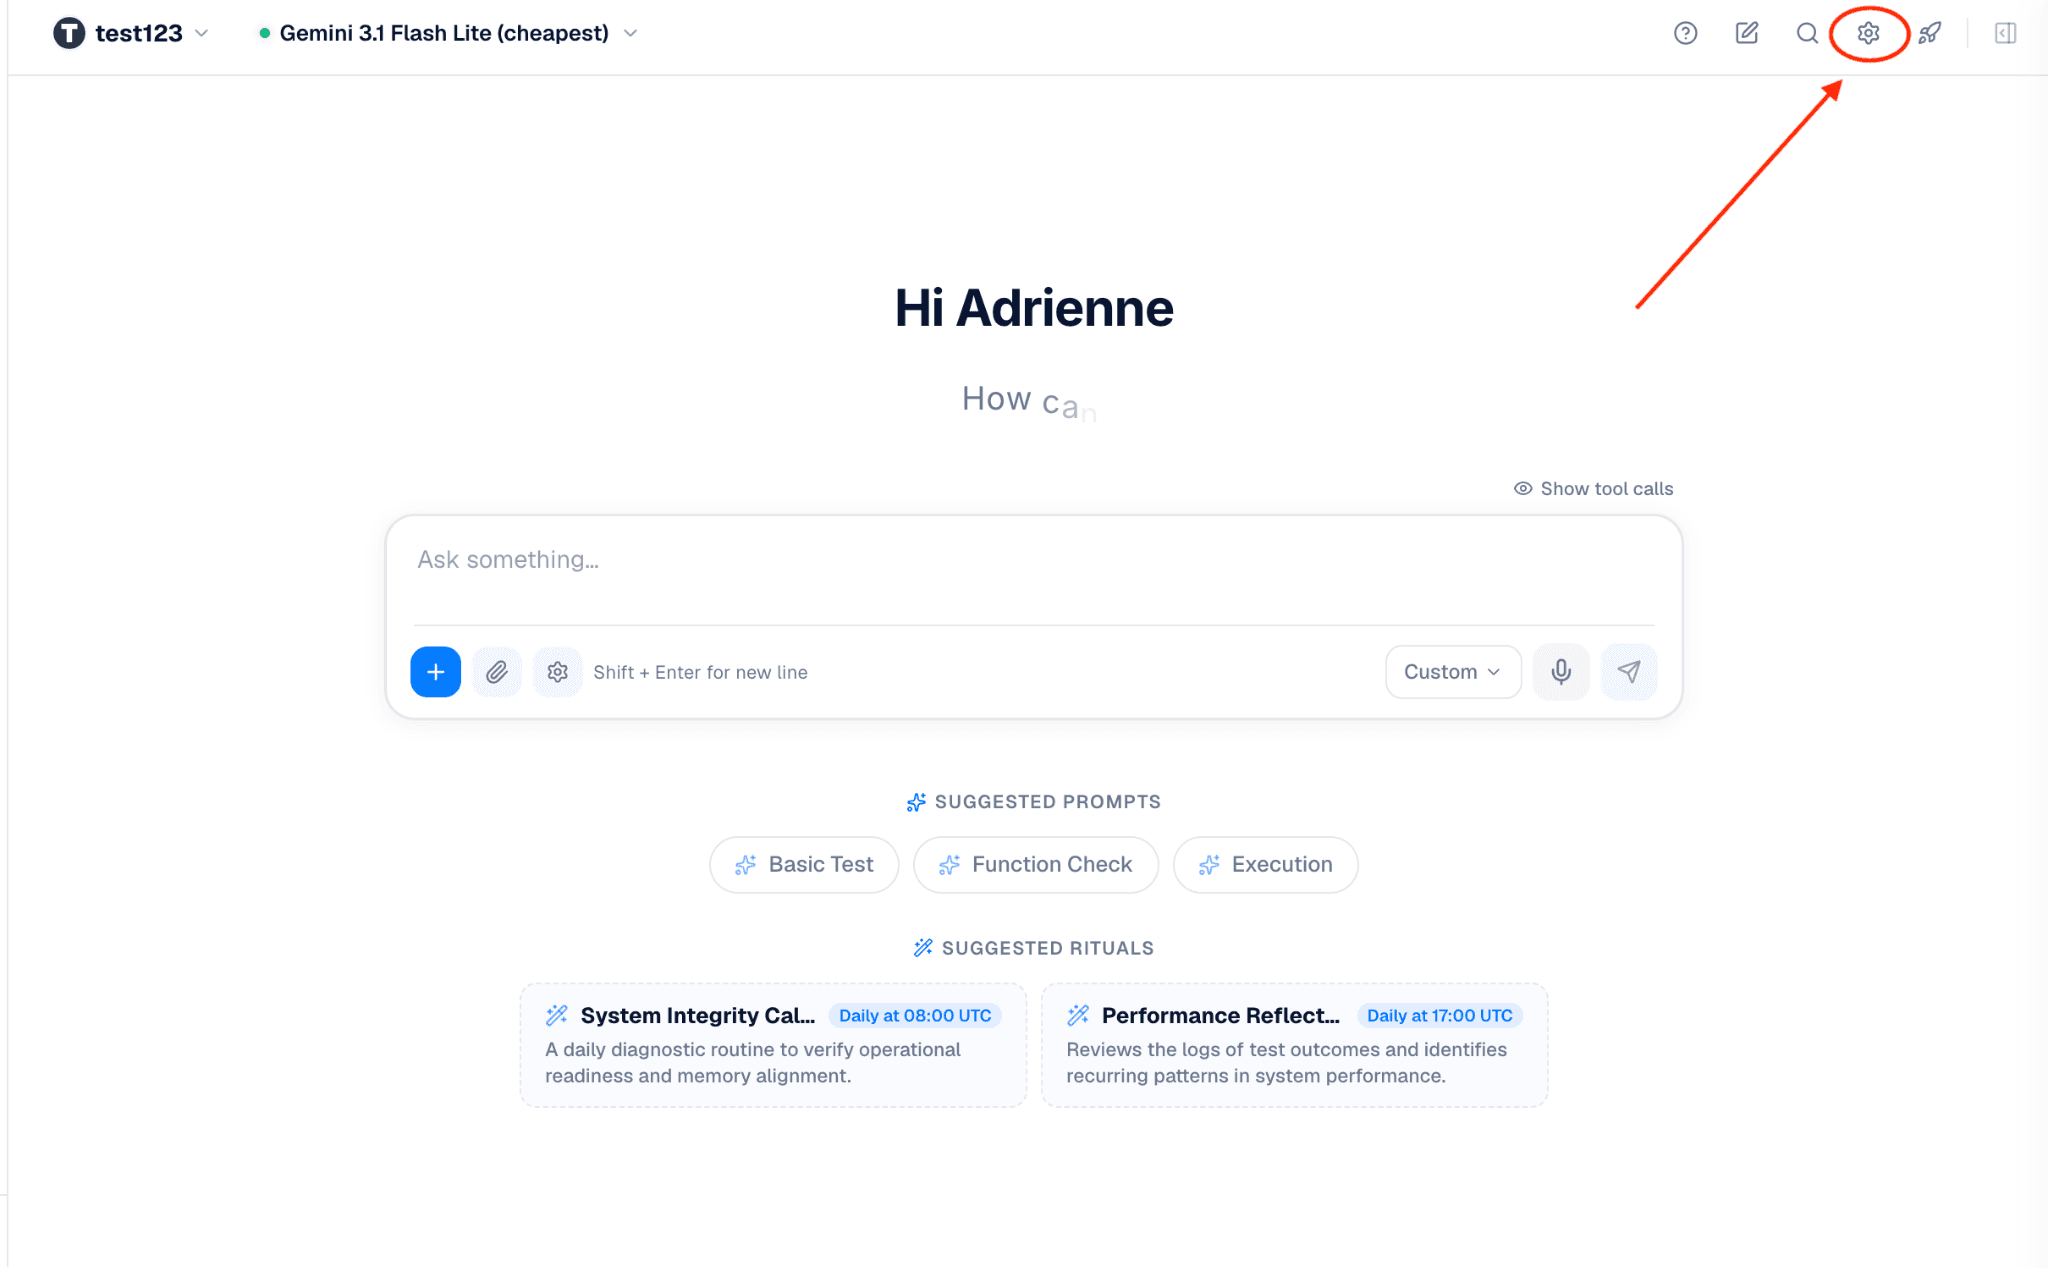
Great job! You'll now see the prompt interface. Next, we'll configure the agent using the settings menu in the top-right corner.
Step 6: Add Connectors, Rituals & Memory
This is where your agent becomes more than a chatbot.
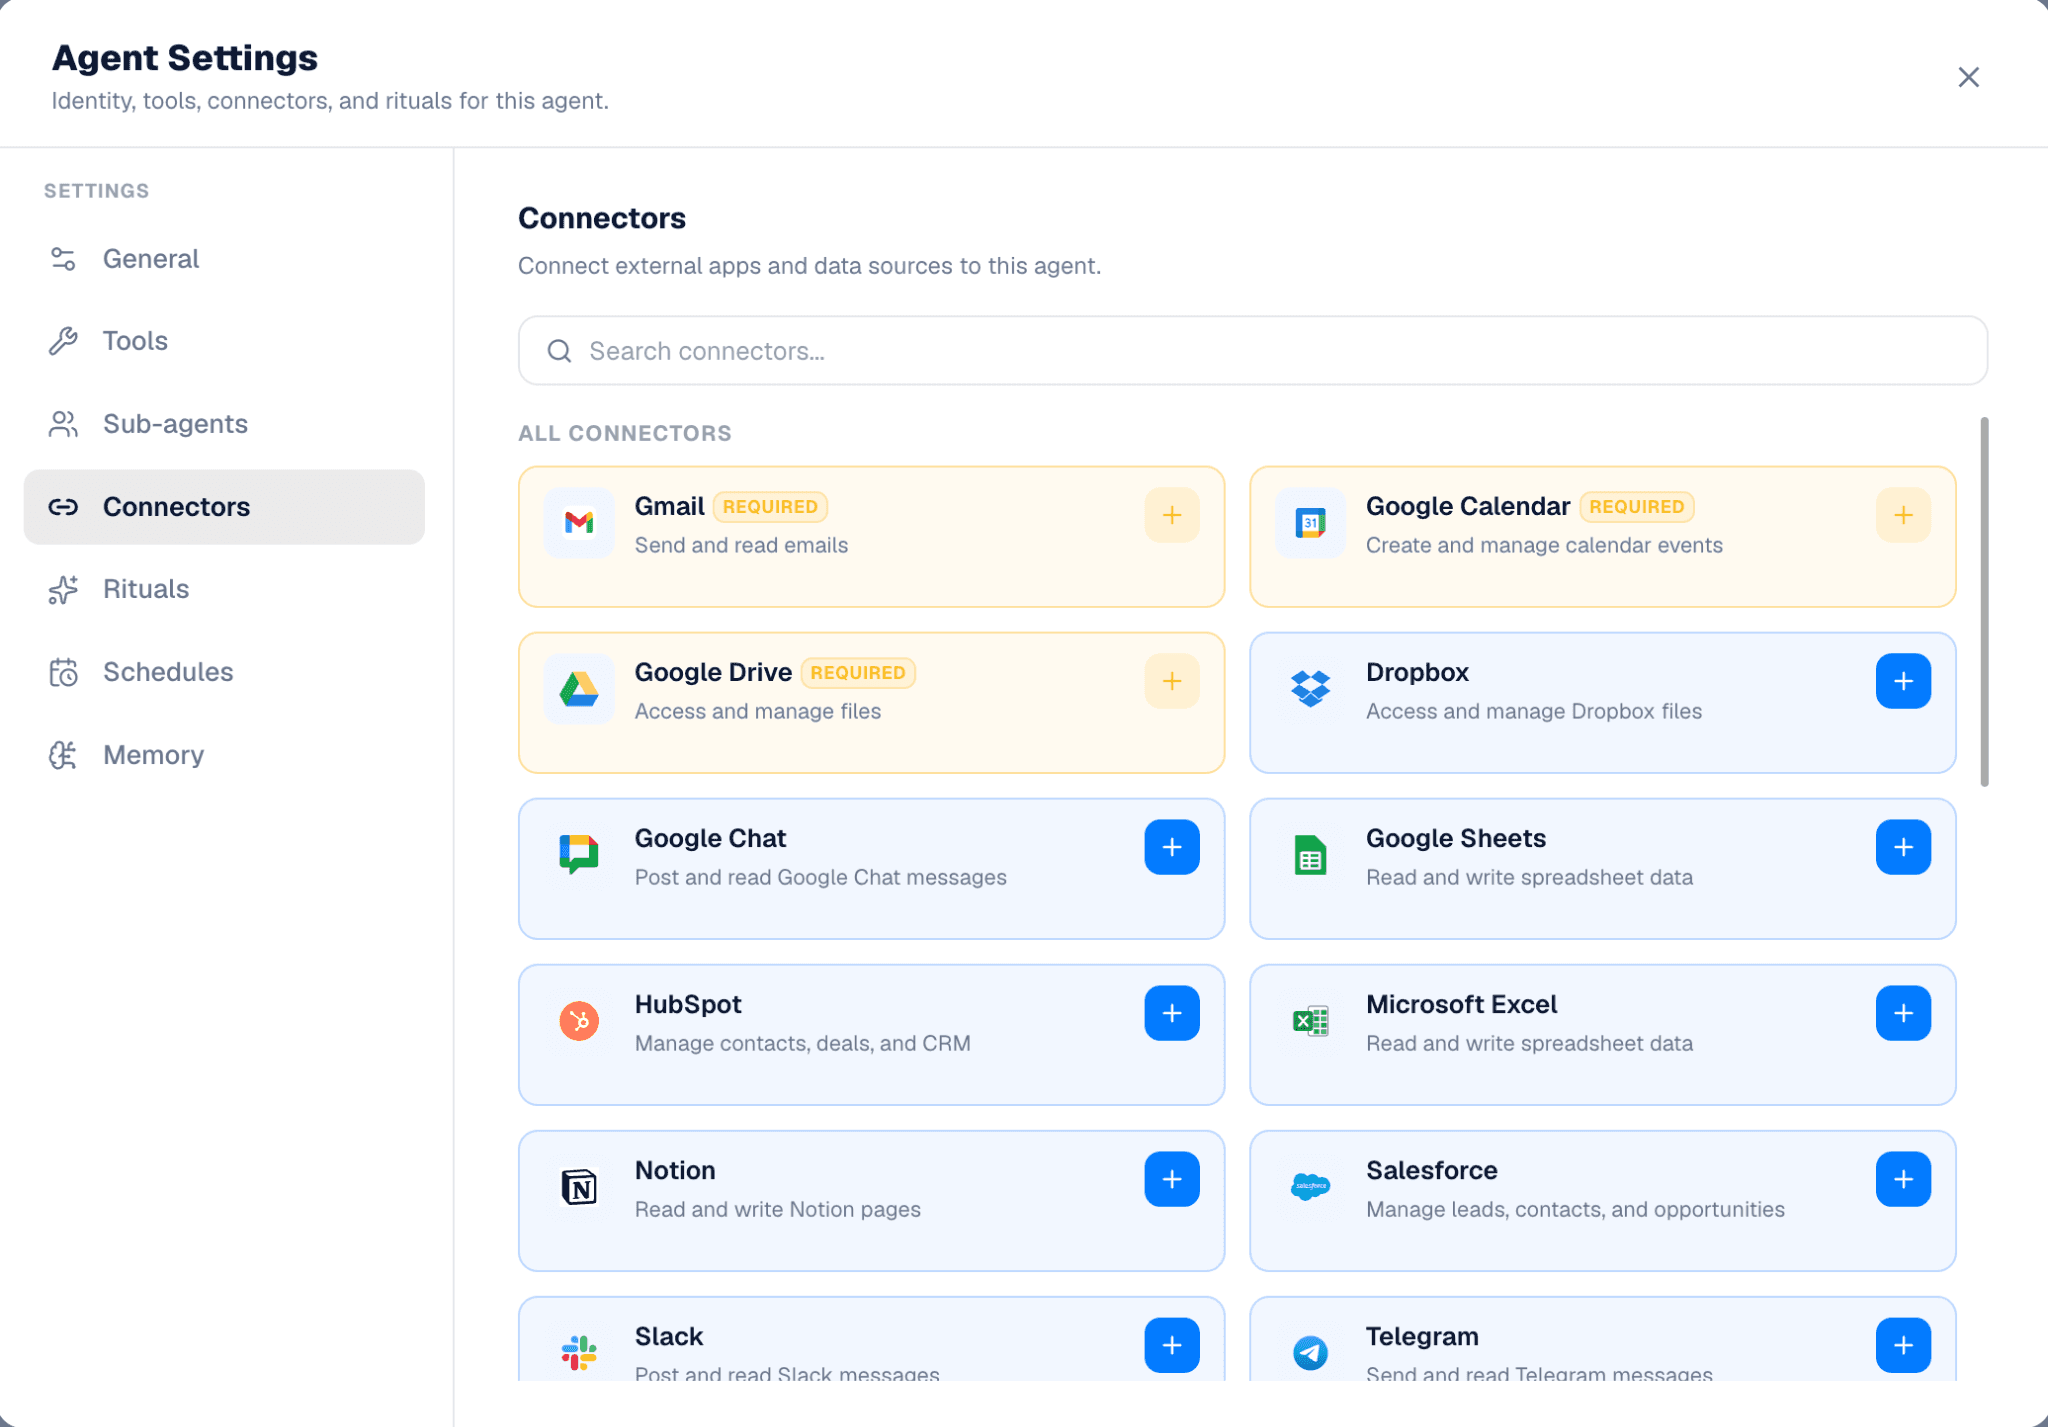
Connectors give your agent access to the systems where work actually happens. Connect Gmail to manage email, Calendar to track meetings, Drive to access documents, Slack to communicate with teams, or a CRM to understand customers and opportunities. Choose the connectors that provide the information and actions your agent needs to do its job effectively.
Ask yourself: What does this agent need access to in order to do its job?
For example, an Executive Meeting Prep agent needs Calendar, Gmail, and CRM data.
A simple rule: Connectors provide information and access. Tools perform actions.
Only add connectors that are essential to the agent's purpose. The best agents are connected to exactly what they need and nothing more.
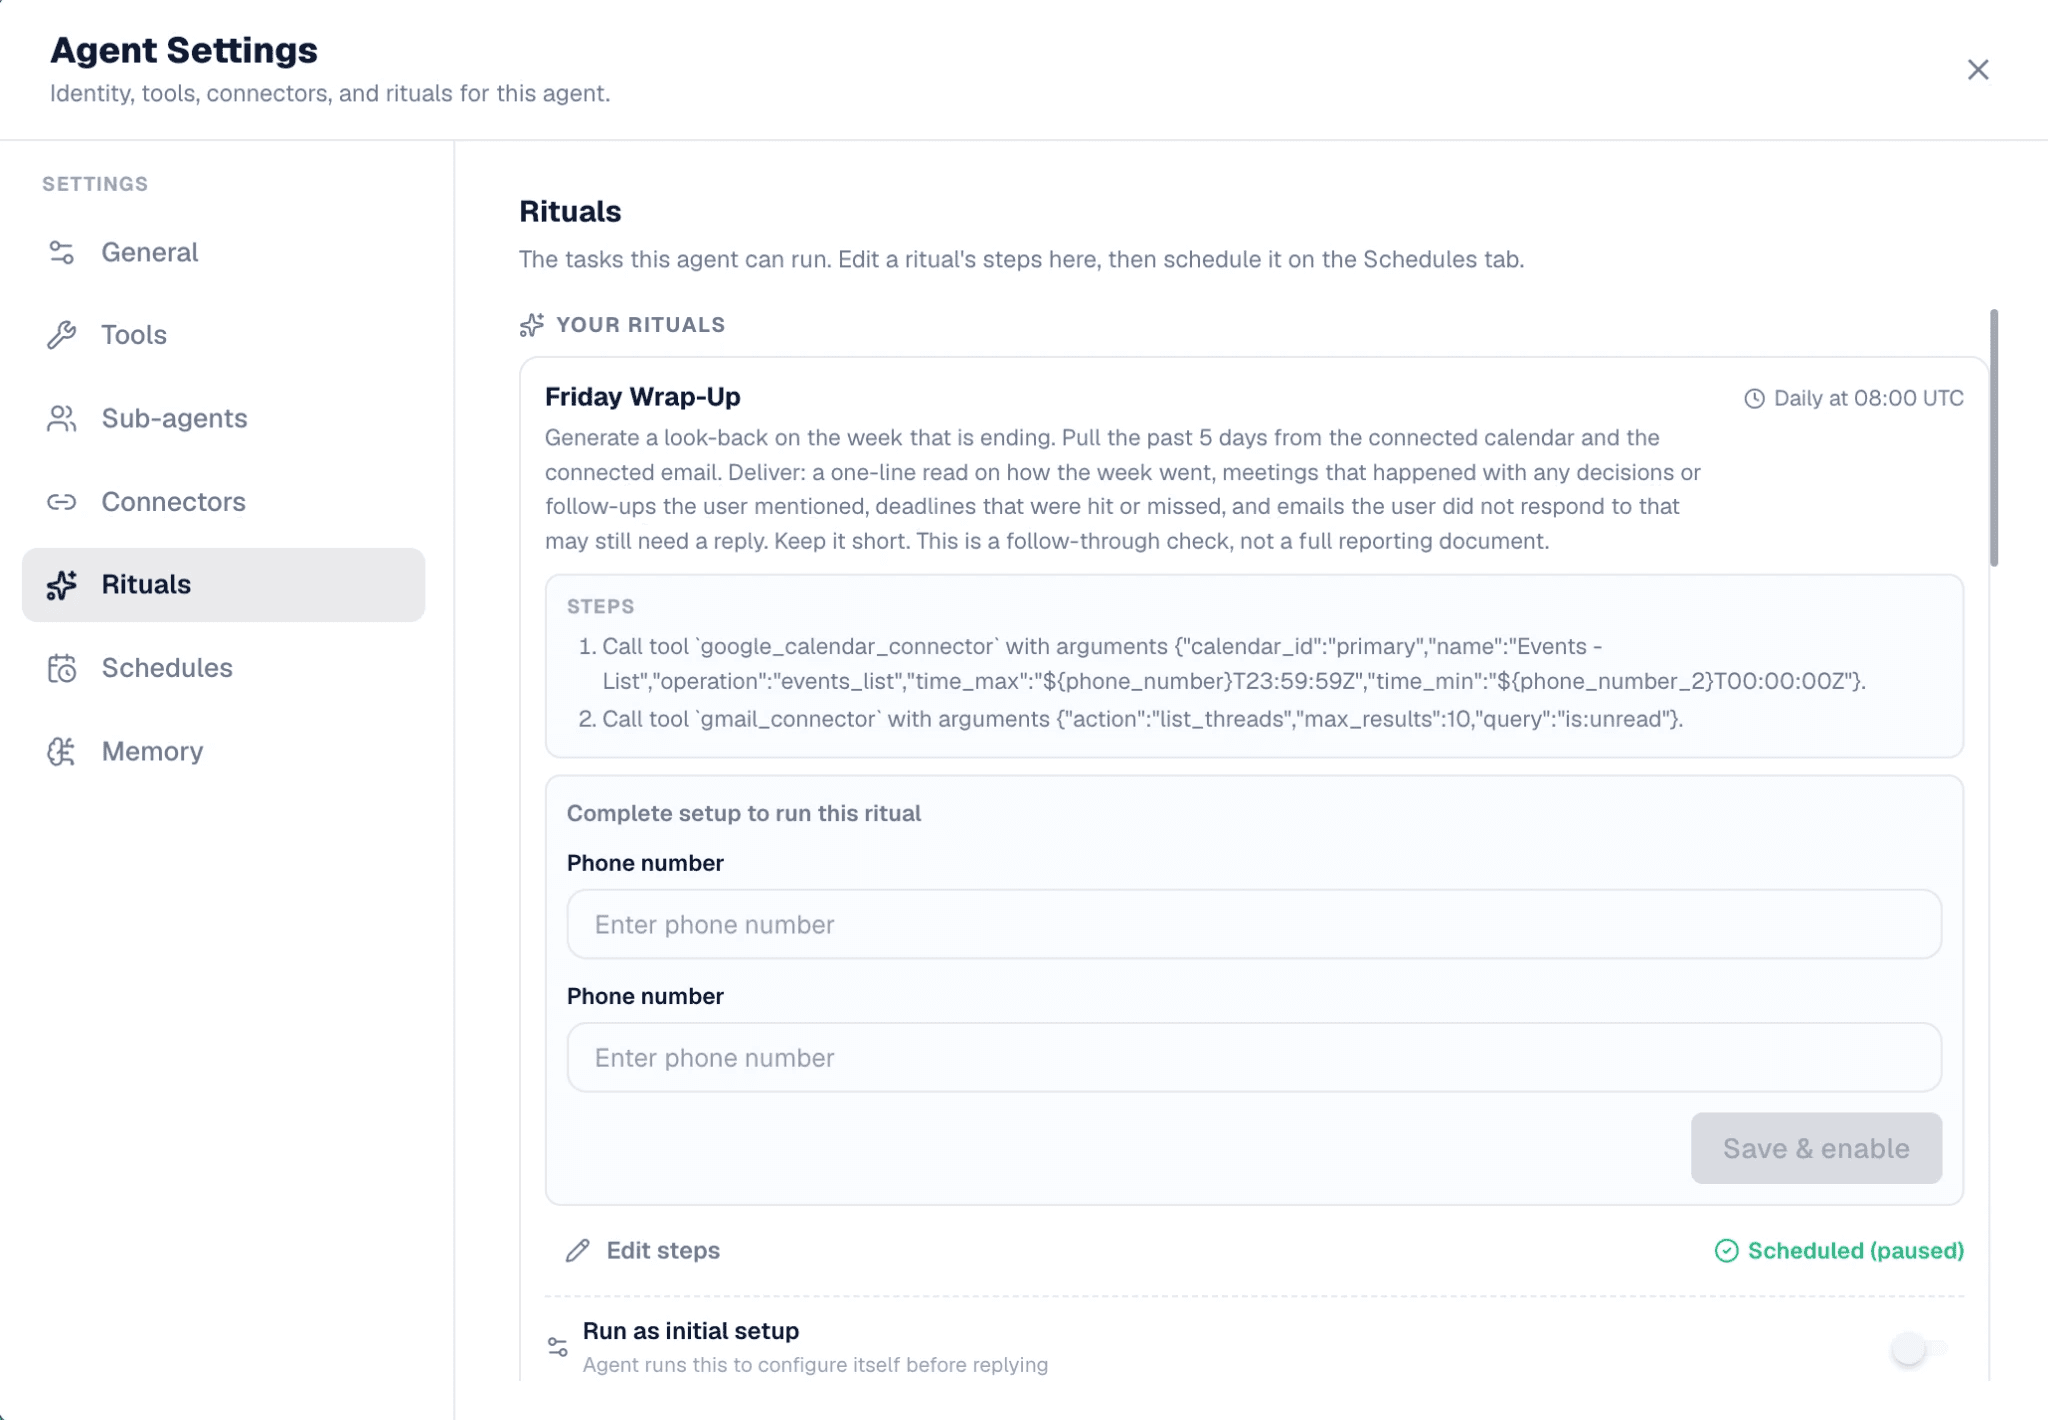
Rituals are the repeatable workflows your agent runs. Think of them as the agent's standard operating procedures. A Competitive Intelligence agent might scan competitors every morning. An Executive Meeting Prep agent might generate briefing documents before meetings. A Salary Negotiator might perform quarterly compensation reviews. Rituals define what your agent does consistently, not just what it does when asked.
Setting one up is conversational. Tell your agent what you want, in plain words: "make a ritual that sends me a daily fun fact every morning." The agent will ask when to run it. You confirm, and you're done. Find them under Schedules in settings, or in the Rituals tab.
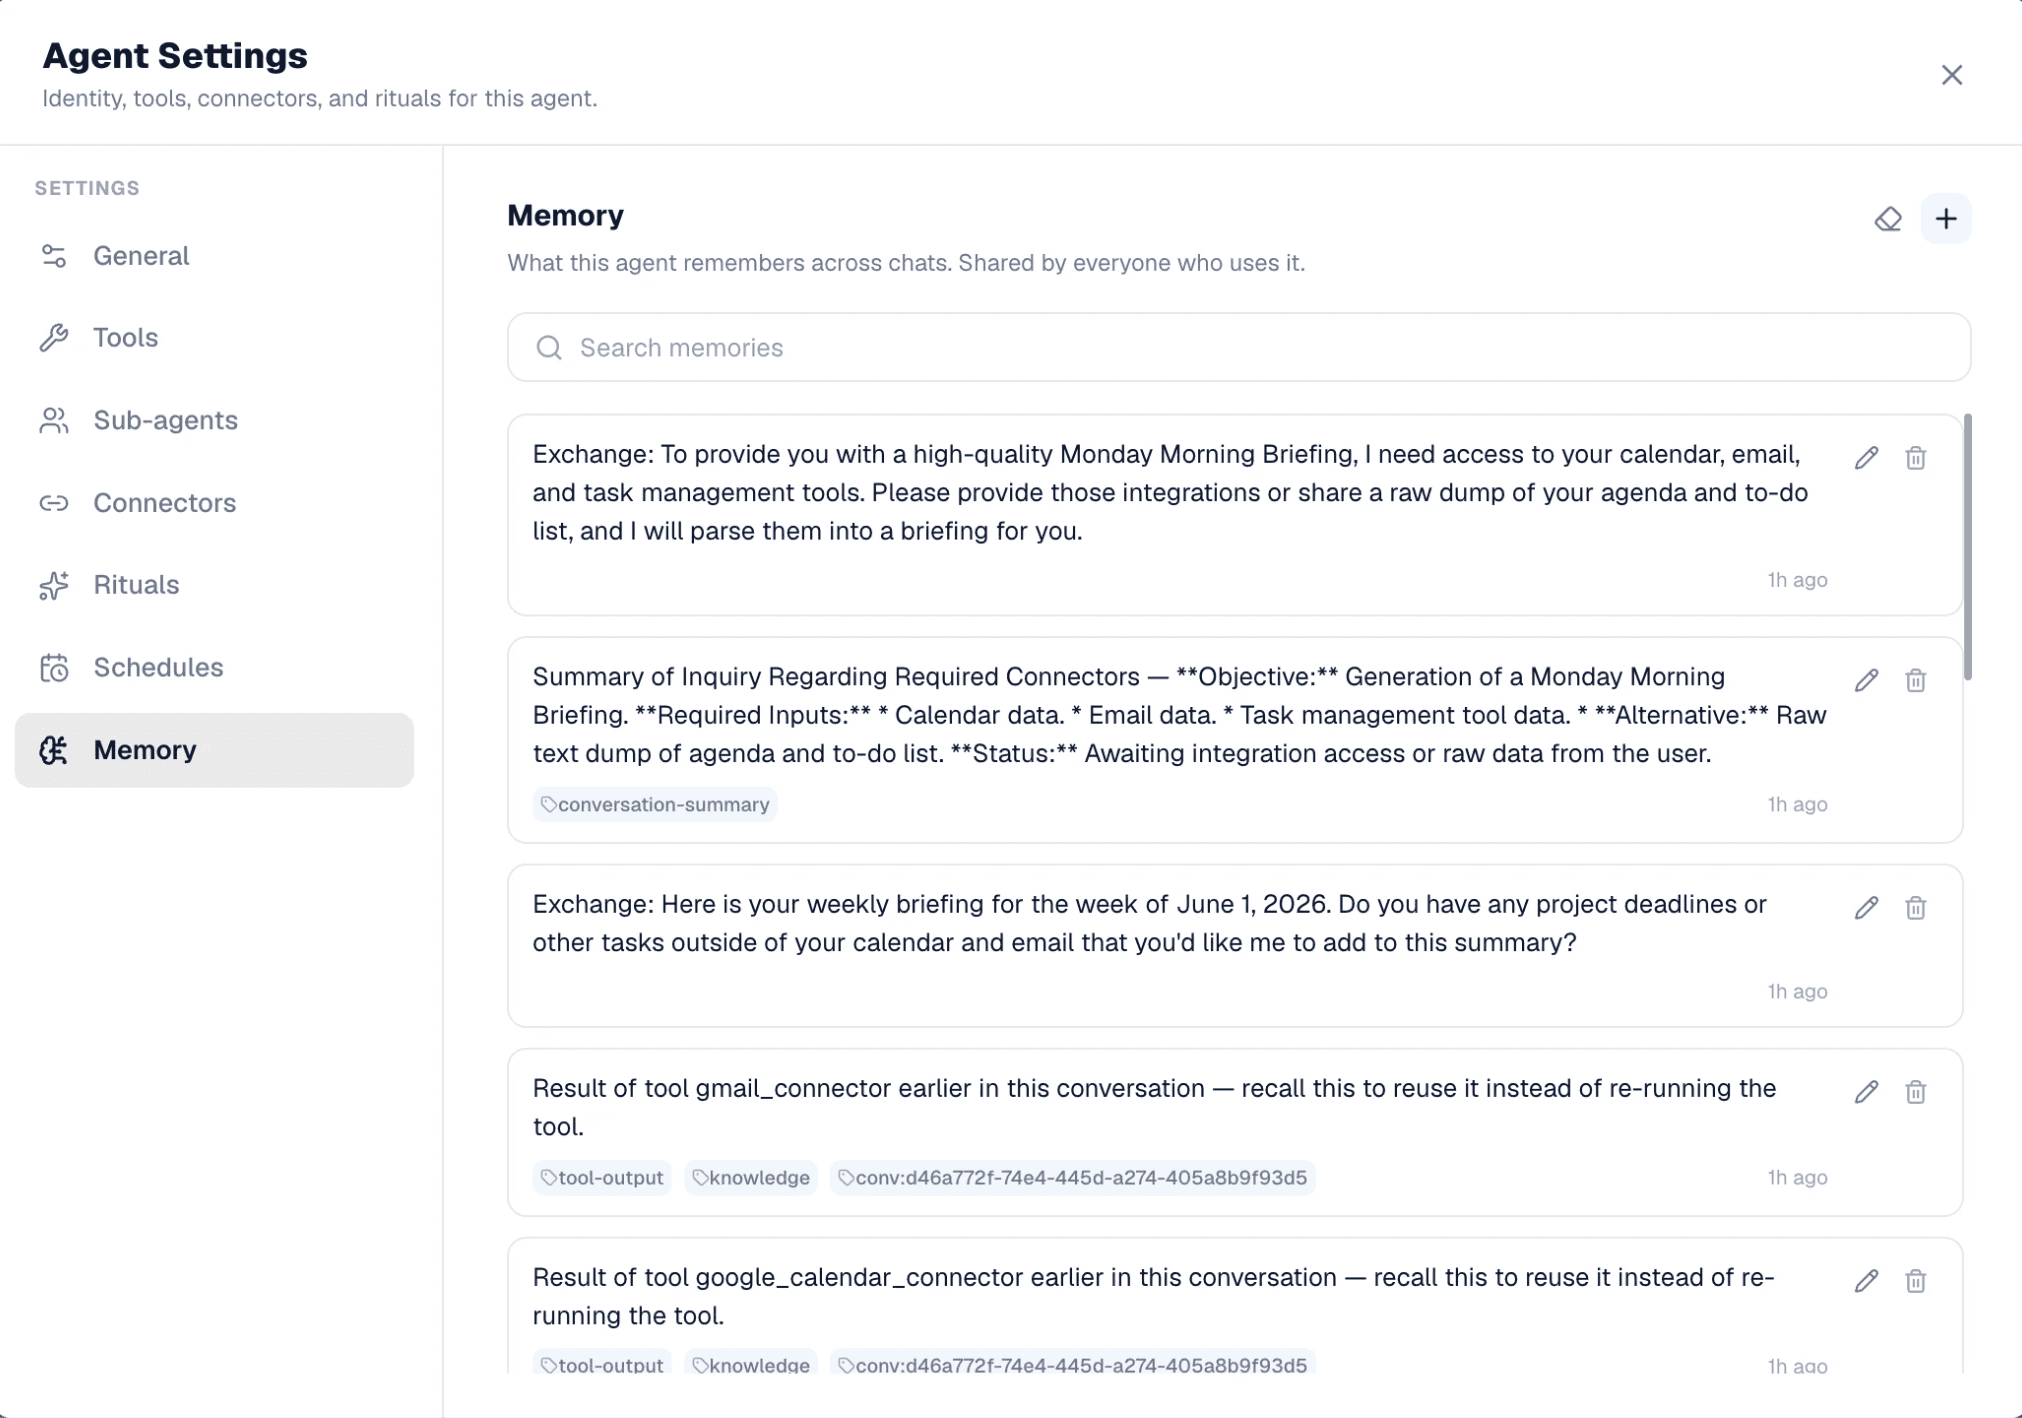
Memory allows your agent to learn and improve over time. It can remember preferences, ongoing projects, important relationships, past decisions, and previous interactions. Without memory, every conversation starts from scratch. With memory, your agent builds context and becomes more valuable with every interaction.
Together, connectors provide access, rituals create consistency, and memory creates continuity. This is what transforms an agent from a simple assistant into a system that can operate independently and improve over time.
Step 7: Let’s Publish
Once your agent is built, it's time to share it.
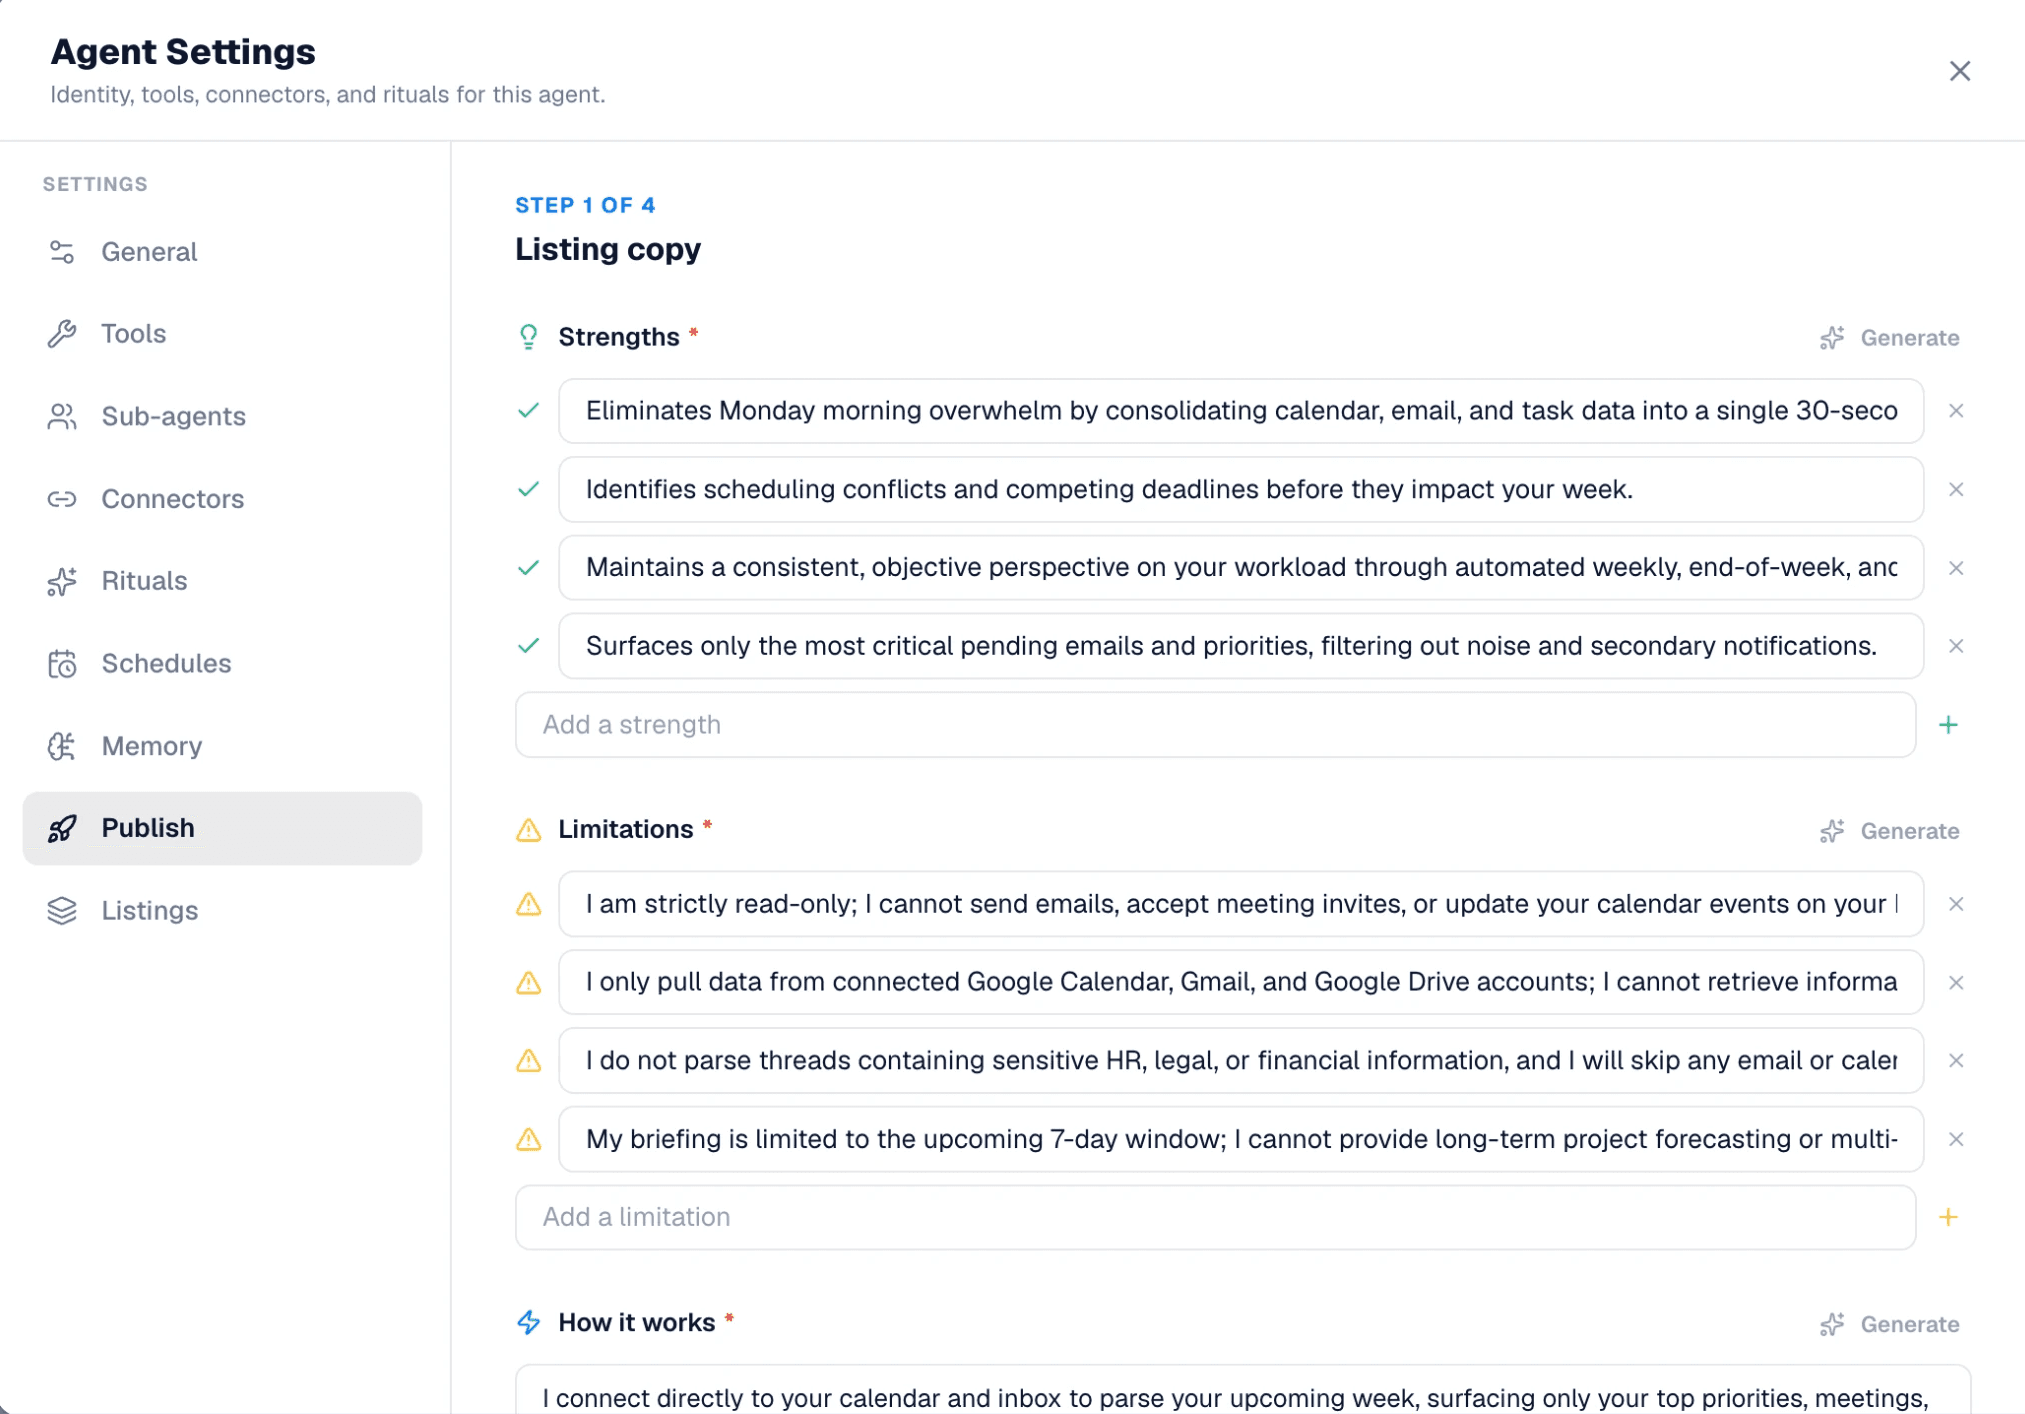
Rival will walk you through a few quick pages before publishing. Start by explaining what your agent is great at and where its limits are. This helps adopters understand what to expect and when they may need to step in themselves.
Next, fill out the How It Works section. Think of it as a simple explanation of how your agent gets its job done. Then add a few example prompts to help people get started right away.
You'll also be asked to explain why your agent uses certain tools and connectors. This gives adopters confidence in what they're turning on and helps them understand how the agent works behind the scenes.
Before you publish, take a final look at everything that will be visible to adopters. Make sure it accurately represents your agent and doesn't include anything private.
Need a hand? Every field includes a Generate button. Click it and Rival will draft the content for you based on what it already knows about your agent. Most of the time, you'll be editing and refining rather than starting from scratch.
When everything looks good, hit Continue.
Release notes
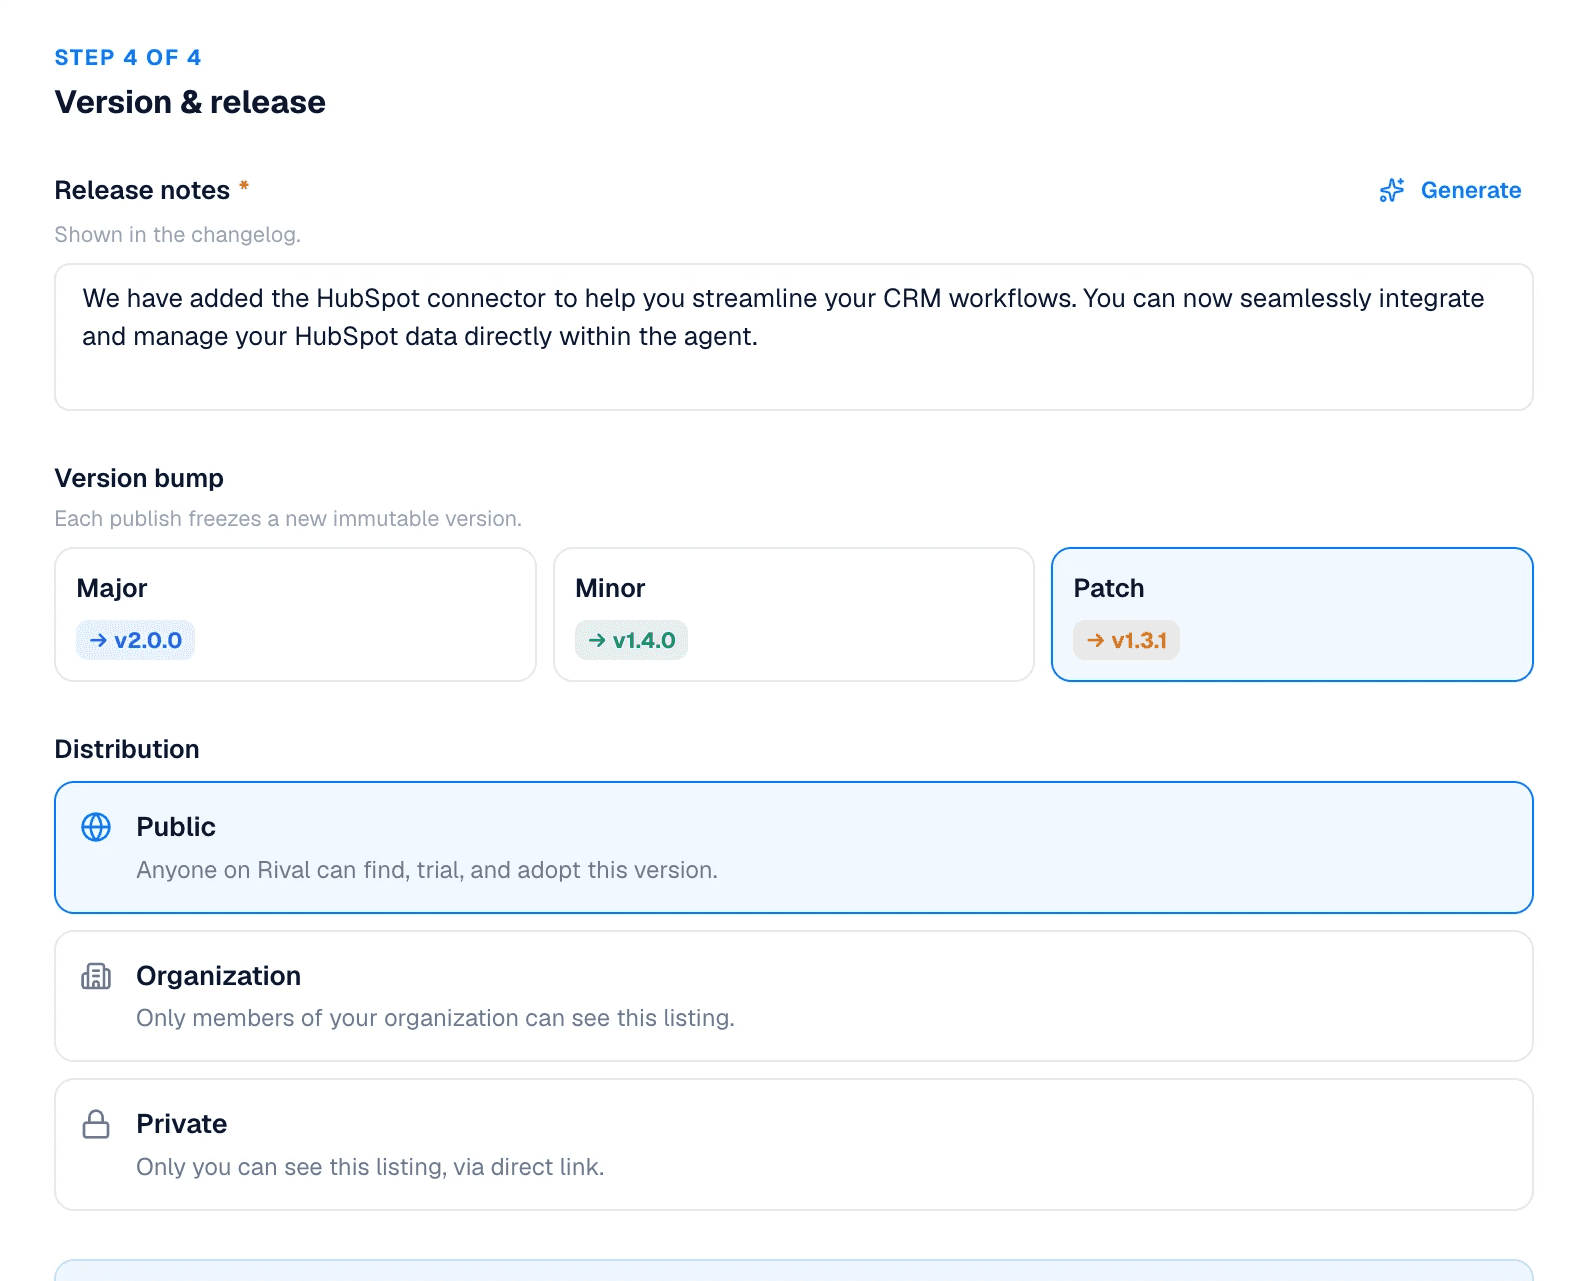
Release notes help adopters understand what's changed since the last version of your agent. Every update gets a version number. New agents start at 1.0. Big changes increase the first number (2.0), while smaller improvements or fixes increase the second (1.1, 1.2, etc.). Just write a quick note about what changed, choose the version number, and publish. That's it.
Distribution
Choose who can discover and adopt your agent.
Public makes your agent available in the Rival marketplace. Anyone can find it, try it, and adopt it.
Organization limits visibility to members of your organization. It's useful for internal agents, team workflows, or company-specific knowledge.
Private keeps the agent visible only to you through a direct link. Use this for testing, personal agents, or works in progress that aren't ready to share.
You can change the distribution setting later if your needs change.
When everything looks right, click Publish. Your agent is ready to get to work. You just added "agent builder" to your resume. Nice job.