Adopting an agent takes just a few minutes.
Think of it like bringing on a new teammate who's already trained for the job. Someone else has already defined the role, built the workflows, and chosen the tools. Your job is simply to connect what it needs and put it to work.
Step 1: Find an Agent
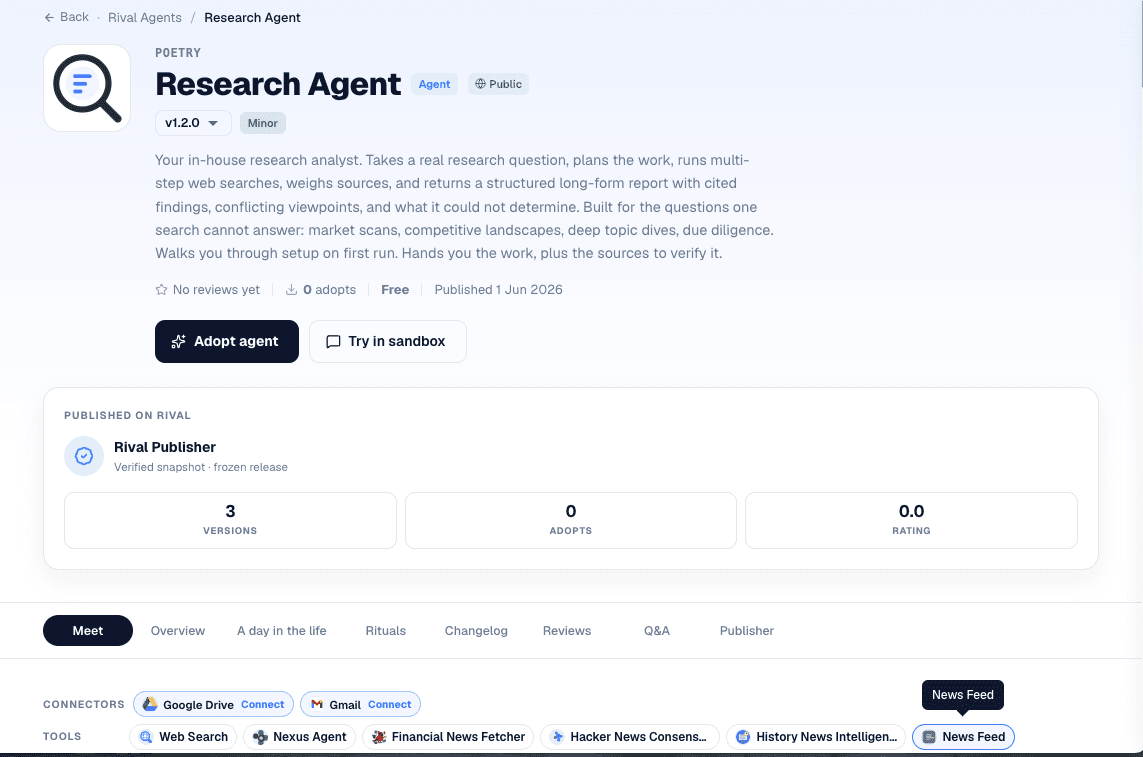
Browse the Marketplace and choose an agent that matches what you need. Each agent's overview tells you:
What it does
Who it is for
What accounts it needs access to
Read it through and make sure it is the right fit before you go further.
Step 2: Meet the Agent
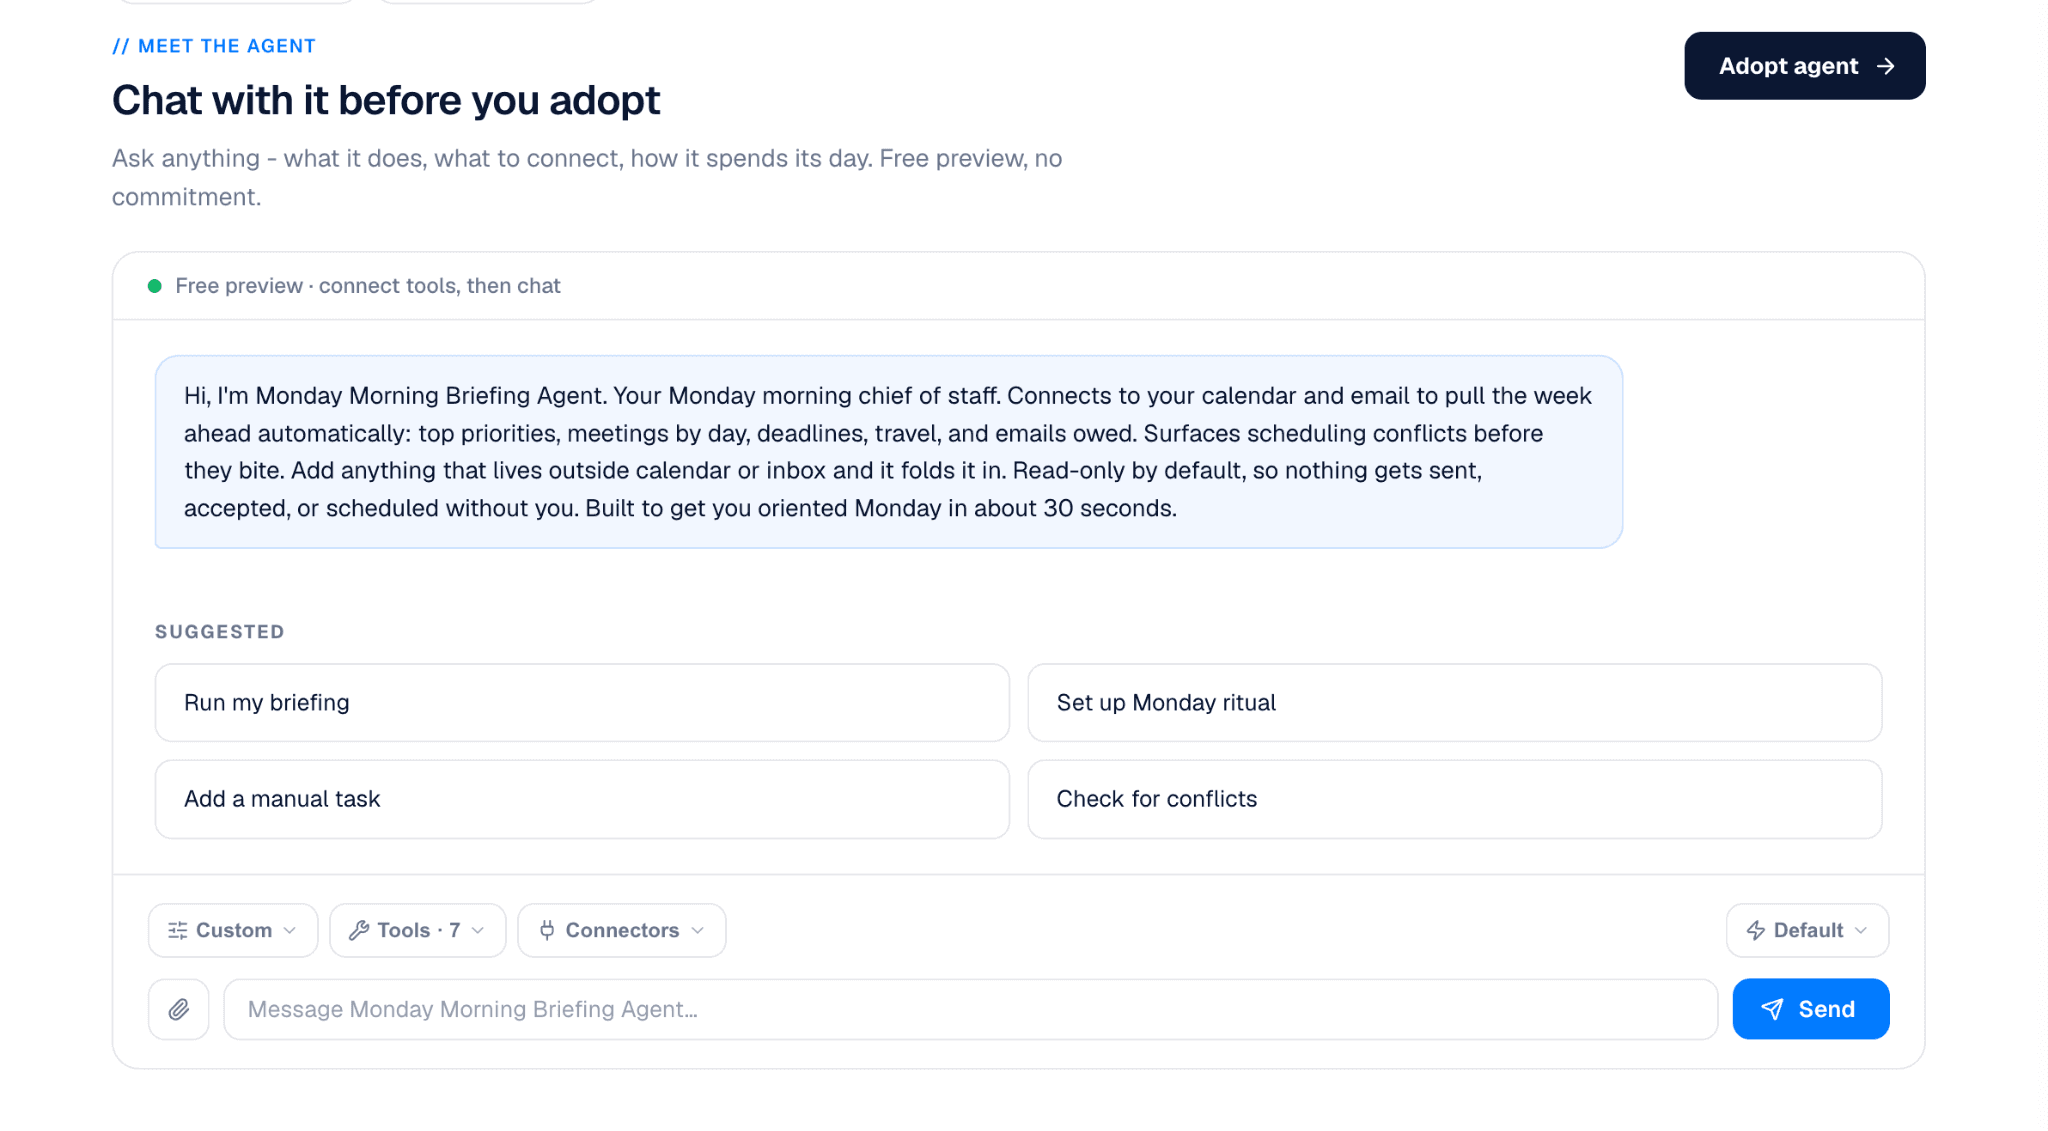
Not sure yet? In the Meet tab you can chat with the agent for free, with no commitment, the same way you would interview someone before hiring them. Ask what it does, what it needs, and how it works. If it answers the way you hoped, you are ready to adopt.
Step 3: Click Adopt
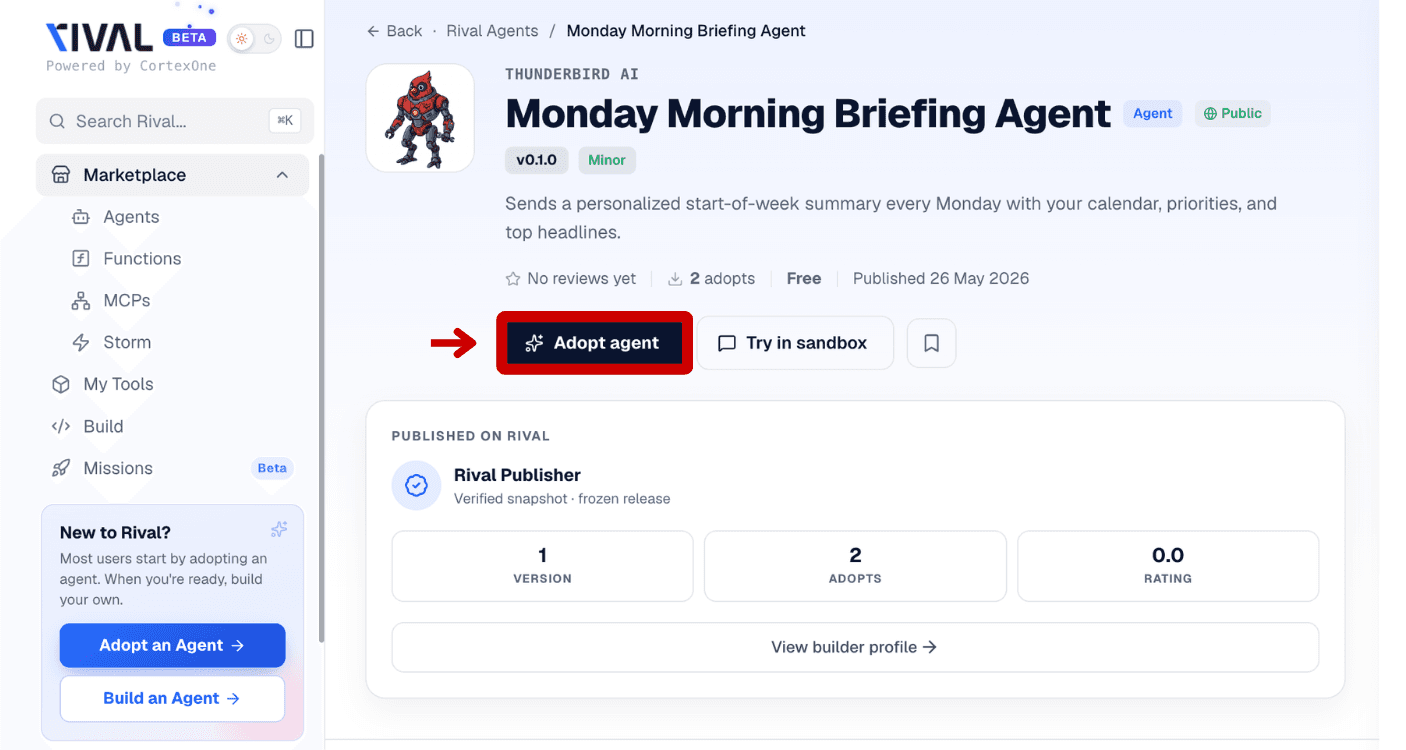
When the agent is the right fit, hit Adopt. It is now yours, and you will find it any time under My Tools.
Step 4: Connect Your Accounts
Most agents need access to tools you already use, like email, calendars, file storage, or CRMs. Click the + buttons to connect the accounts the agent needs.
If you've ever clicked Allow when signing into an app with Google, you've already done this before.
Don't use a recommended service? No problem. If an agent suggests Gmail and you use Outlook, simply remove Gmail and connect Outlook instead.
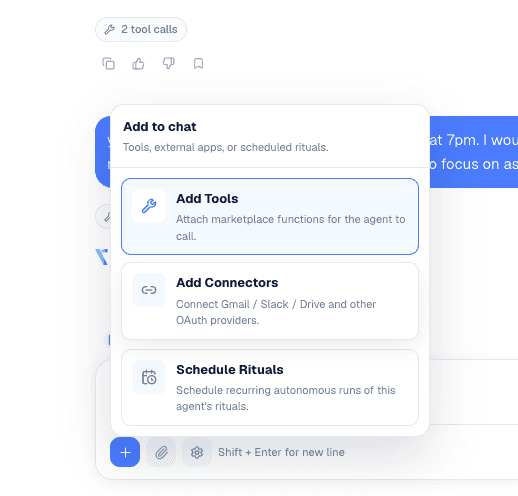
Step 5: Start the Conversation
Open a conversation and introduce yourself.
Tell the agent:
What you're trying to accomplish
How you like to work
Any preferences or priorities
You can also ask it questions:
What can you help me with?
What tools do you use?
How should I work with you?
What information would make you more effective?
The more context you provide, the more useful the agent becomes.
The agent starts with a blank slate. It only knows what you choose to share, and you can update or clear that information at any time. Think of it like onboarding a new teammate: the more they understand about your goals and how you work, the better they can help.
Step 6: Choose a Brain
At the top of the page, you'll see the model your agent uses to think. If you don't want to worry about it, leave the default setting alone and get started. Already subscribed to your preferred model? You can connect your own API key and use the model of your choice.
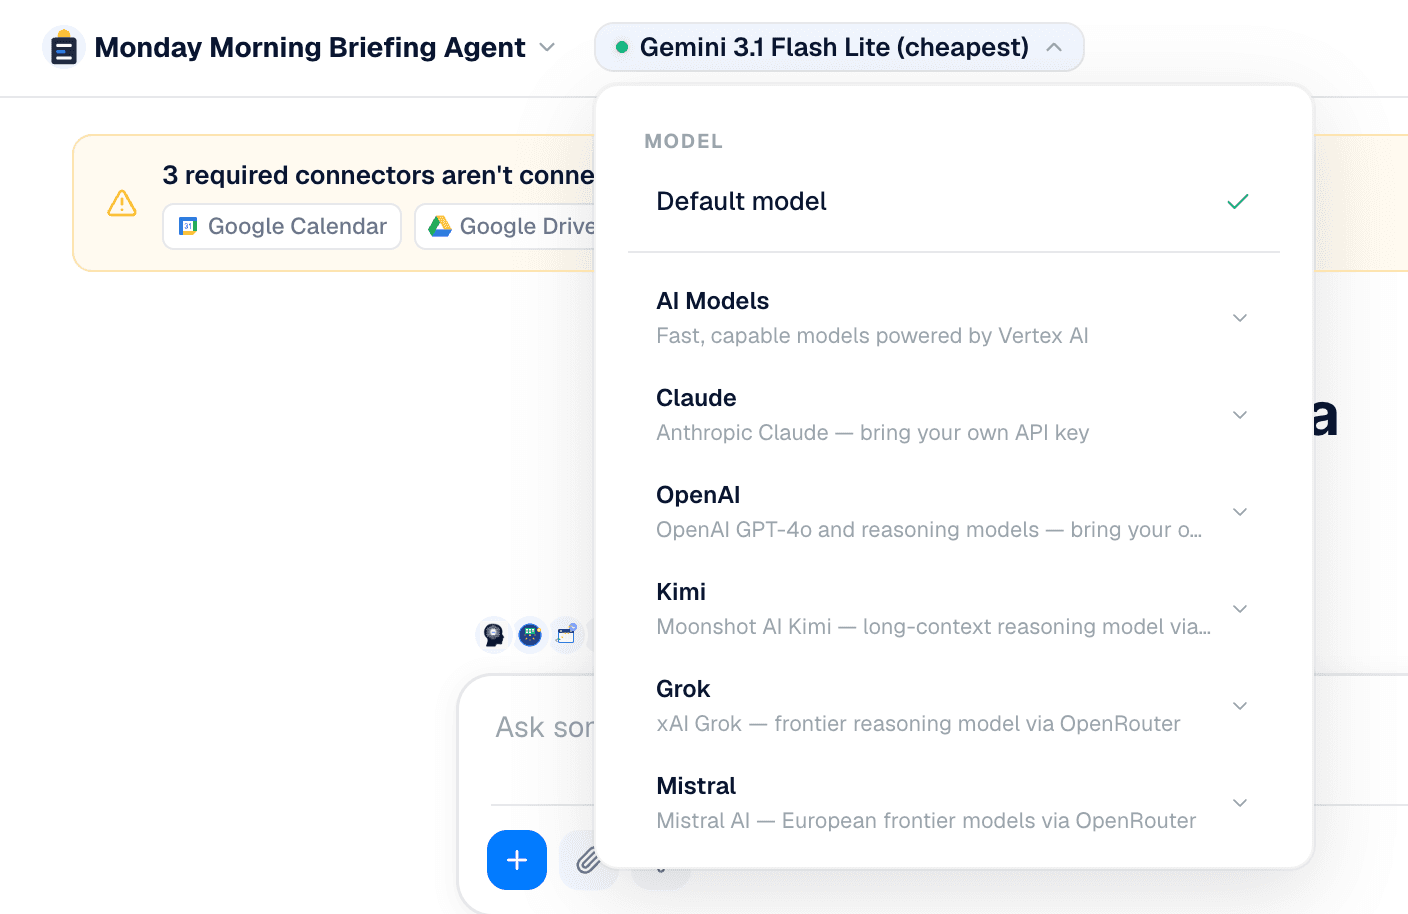
To add your own API key, click the model you want to add your API for. A drop-down menu will show the supported versions. Choose your preferred version and paste your API key into the text box.

Step 7: Make It Your Own
A couple of optional tweaks to fit the agent to how you work:
Tools: the agent comes with the tools it needs, each one built by a developer who earns when it is used. Add others, or remove any you do not want. Can be found in your agents settings.
Rituals: put the agent on a schedule, like every morning at 8am, so it works on its own without being asked. Can be found in your agents settings.
That is it. Find an agent. Adopt it. Connect what it needs. Tell it what you're trying to accomplish.
Then sit back and let it get to work.